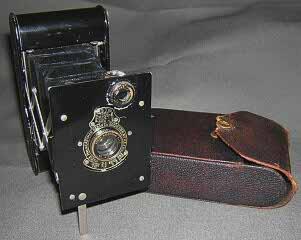
Kodak Vest Pocket Autographic
The Kodak Vest Pocket Autographic cameras were small folding cameras using 127 roll film. They were
manufactured beginning in 1912 until the 1930s. The early models have trellis struts while the later
versions have a drop bed.
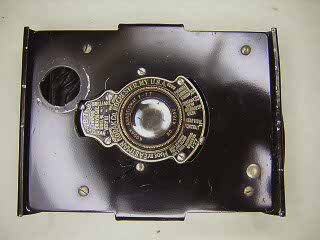
Looking at the camera you will notice there is no way to remove the back. The film is loaded from
the top. To load the camera with film, you slide the lock on the top and lift the top off. You then insert the film
leader into the takeup spool and put both spools into the camera. Optionally, you can remove the film number
window from the back so that you have access to the film leader. The film number window is removed by turning
the large circular piece clockwise.
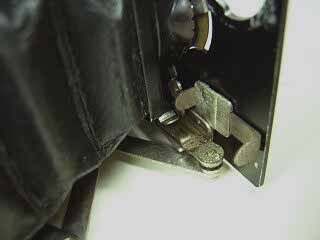
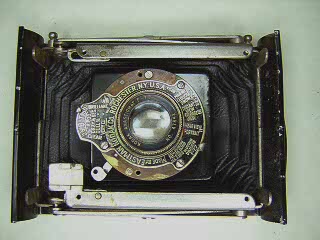
The shutter button is located behind the front panel and is accessible after the front is pulled out (see first image below).
The waist-lever viewfinder rotates 90 degrees for either portrait or landscape framing.
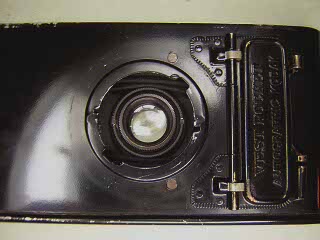
A variety of lens and shutters were used over the years. Some Vest Pocket cameras have a single element meniscus lens.
Because the lens is located behind the shutter it looks as though the camera is missing its lens. The camera
picutred here has the better Kodak Anastigmat f7.7 triplet lens.
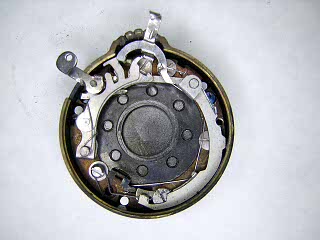
This camera uses the two speed version of the Kodak Ball Bearing shutter.
Disassembly and cleaning is similar between the two shutters.
|