[Printable Page] [RSS 2.0] [Login] |
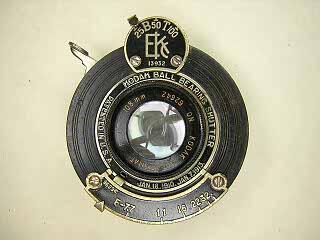
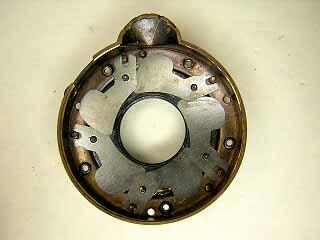
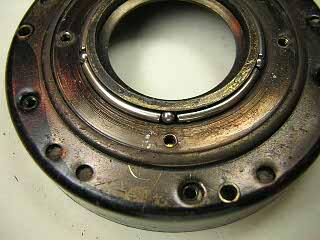
Kodak Ball Bearing ShutterThe Kodak Ball Bearing shutter was used on a variety of early Kodak cameras such as the Autographic folders. The shutter shown here was taken from an Autographic Junior A-120. These shutters are simple shutters that rely on spring tension for speed control. Typically, this type of speed control is inaccurate due to loss of spring tension. There isn't much you can do to adjust the speeds if they are wrong. Although you could try bending the end of the spring slightly, on springs this old that may not be a good idea. However, if you measure the actual speeds with a shutter tester, you can then calculate a good exposure from the actual speed. When I tested this shutter the 100 setting produced a speed of 1/50 sec. The 50 and 25 settings were nearly identical at about 1/30 sec.
|
Links: |