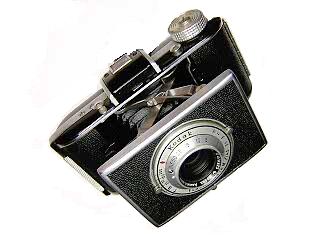
Kodak Flash Bantam
The Kodak Bantam cameras were small folding bellows cameras using 828 roll film
manufactured over the years 1935 to 1953. Kodak continued the Bantam with the
Bantam RF through 1957, but this camera is more like the Signet series.
There were several models ranging from the simple f6.3 models
with fixed focus and single speed shutter, up to the f4.5 and Flash Bantam models.
The Flash Bantam has a four speed shutter and either the Anastigmat special or Anastar lens.
The Anastigmat special on the camera shown here is a good performer and just about
as good as the Ektar used on the Signet 35.
Although 828 film is no longer manufactured, it is possible to
roll your own.
If you are willing to do that, the small compact size makes this a fun camera to shoot with.
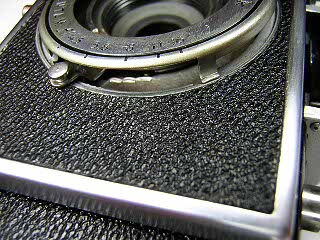
This camera was in excellent condition but with a sticky shutter. I cleaned the
shutter and lens and the camera took very nice pictures. Be sure to check the
bellows for light leaks if you intened to shoot film in the camera.
|
|
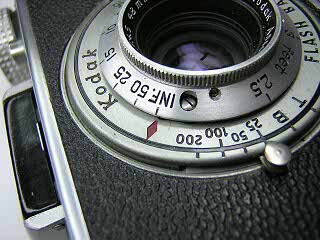 |
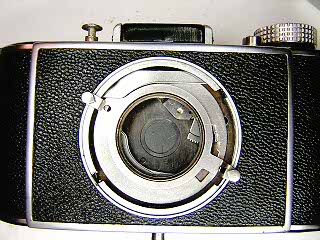
Remove the screw next to the infinity mark in the front lens and then unscrew
the lens. Count the number of turns so that when you put the lens back in you
can get it back to the correct focus position.
|
 |
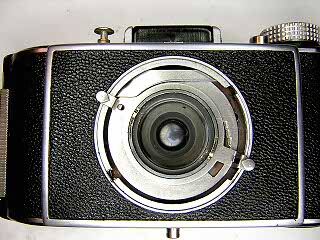
The faceplate is held in place by two tabs. Push in the tab on the
aperture side and pop the faceplate out.
|
 |
Next remove the center lens element. This element simply unscrews, but there
are no spanner slots or holes and then lens is likely to be very tight. Use solvent
on the threads to loosen them. I had to file two slots in the flange in order to
used a spanner wrench before I could get the lens out. Try using a friction tool
first.
|
 |
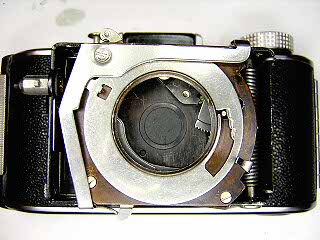
With the lens out of the way, you can see the escapement mechanism tucked up
under the right side of the front plate. You may be able to put a little solvent
in and get the mechanism running without further disassembly.
To continue with disassembly, remove the aperture and speed setting levers.
|
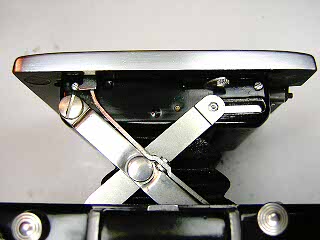 |
Pop open the bellows and remove the two screws on the top and one screw on the
bottom. The front plate will then lift off.
|
 |
Remove the screw at the upper left that holds the shutter linkage and remove
the linkage.
|
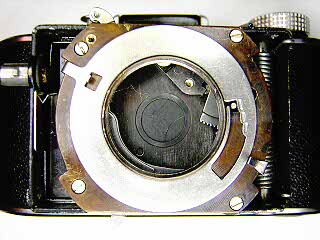 |
Remove the four screws and lift the off shutter cover plate and speed setting cam.
|
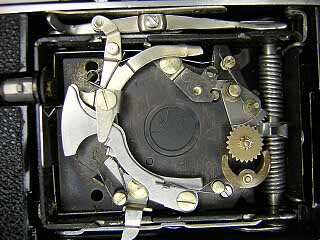 |
At this point you have easy access to the shutter mechanism. The retard
escapement is on the right. The shutter release is the lever at the bottom.
The main lever and T+B levers are on the left.
Remove the pallet and star wheel from the escapement.
Unhook the spring on the T and B levers, remove the screw
and then slide the levers out.
Unhook the main spring where it sits on its post and on the cocking lever.
Remove the screw in the main lever and remove the main lever and shutter
cocking lever.
|
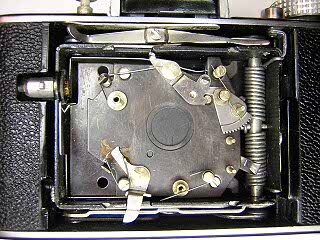 |
Remove the blade lever spring (top left), sector gear spring (top right)
and shutter release lever spring (bottom left).
Remove the two screws and two screw posts, then lift the shutter base off.
|
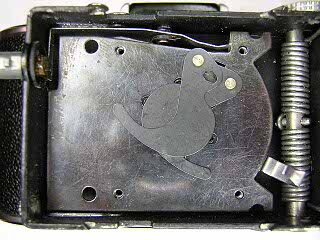 |
Lift out the two shutter blades and the plate they sit on.
On reassembly, make sure the blades overlap properly and the
blade activating lever goes through the hole in both blades.
|
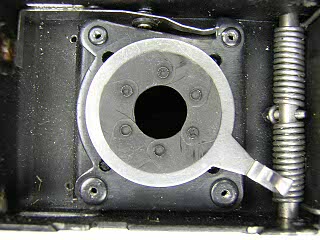 |
The diaphragm wings and control lever lift out.
|
Lubricate the speed setting cam and speed and aperture levers.
The shutter should run dry, but if needed, put a tiny amount of
oil on the pallet and star wheel posts.
To set the focus, turn the lens until sharp at infinity, loosen the
set screws around the focus ring and turn the focus ring to the infinity stop, then
tighten the set screws.