Prontor SVS Shutter
The Prontor SVS shutter was widely used on German cameras of the 1950s. It was also used on some American cameras.
This shutter is an updated version of the Prontor II, S, and SV shutters. A major change to the shutter is in the way the flash synch delay and self-timer functions are performed. Both of these functions are performed with a single unit, the delayed action device. The delayed action device is always cocked along with the shutter by a two-piece lever that extends up to the main cam. The selector switch on the side of the shutter engages different amounts of delay depending on the setting.
Many of these shutters have become so clogged with grease that a flush cleaning doesn't work. You can try immersing the entire shutter in solvent for a day or two, but they almost always have to be disassembled for a complete cleaning.
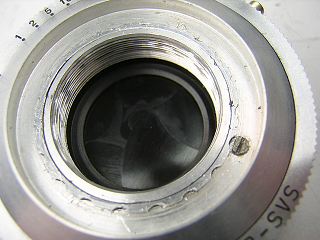 |
Remove the lens cells from the front and rear. Turn the lock screw until the flat side is towards the center of the shutter. Unscrew the scalloped retaining nut that is around the lens opening and lift off the faceplate. |
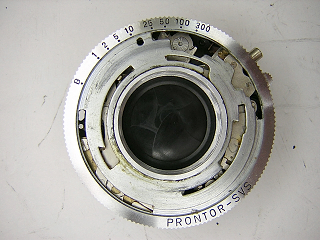 |
With the cover removed, you see the speed cam plate. Note how the pins fit into the slots. On later versions of this shutter there is a small piece that looks like a "foot" sitting at the bottom. This sits in the delayed action device (self-timer) and prevents the shutter from being moved to B when the self-timer is cocked. This piece needs to be lifted out before continuing since it is loose and will fall out. |
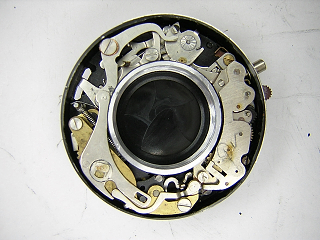 |
With the speed cam off, you can access the clockworks for flush cleaning. The speed governor is on the right. The delayed action device is at the bottom. If the shutter won't cock, check the position of the cocking lever for the delayed action device. This can become bent and interfere with cocking. According to the service manual, the gap between the end of the cocking lever and the pin on the main cam should be 0.2mm. If the shutter won't fire even after cleaning, check the "hook" at the right end of the delayed action device. A lug on the blade operating ring has to slide past this "hook" in order to open the shutter. These pieces can also get bent and prevent the shutter from operating. |
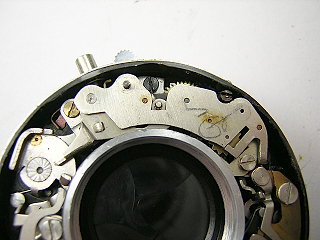 |
To remove the speed governor, cock the main spring to expose the screw in the base of the speed governor. Remove the screw in the base and the long screw near the pallet. Lift the assembly out of the shutter. |
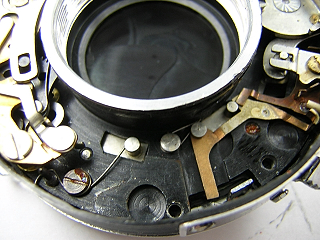 |
Underneath the speed governor is a flash contact. This can be removed by unhooking the spring and lifting the piece out. Remove the blade closing spring. One end of this spring sits on a screw that holds the shutter halves together. When the shutter halves are separated, this spring can fall out. |
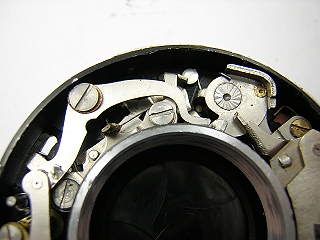 |
Remove the screw in the delayed action device cocking lever. Note the spring washer underneath the screw. There were some variations on this screw and washer, so this part may not be exchangable between different shutters. To remove the cocking lever, rotate the lever until it can drop down and then slide the lever out. Optionally, you can leave the lever attached as it will lift off with the delayed action device. |
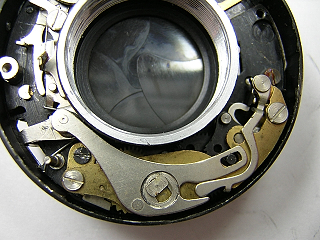 |
Unhook the spring on the delayed action device then remove the screw in the base next to the pallet. Don't remove the screw in the cover next to the pallet. Remove the screw at the opposite end and then lift the assembly out. |
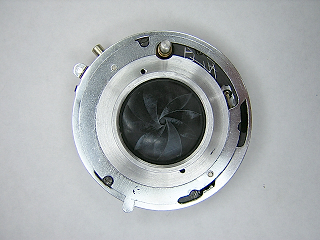 |
Turn the shutter over and move the synch selector and diaphragm control until the screws are visible. It is necessary to remove some screws at one position and other screws at another position. Remove the screws and pull the two halves of the shutter apart. |
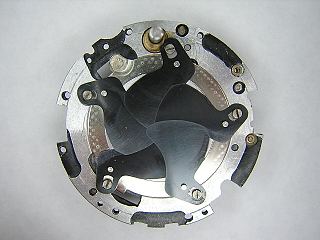 |
Lift the blades off. Often grease on the blades hold them together and they all lift off at once. Note the direction the blades overlap and which blade goes on first. |
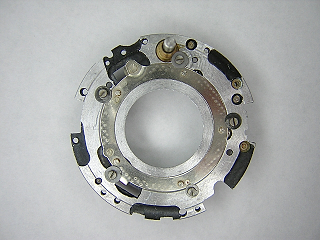 |
Remove the screws and washers holding the blade activating ring and lift the ring off. |
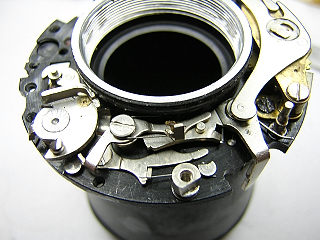 |
This image is a close-up of the B and release levers. I flush cleaned these in place. See the article on the Vero shutter on how these parts are removed. |
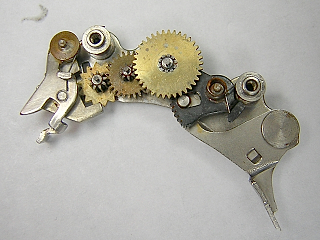 |
I noticed there was rust on the spring in the speed governor. Ideally, you would just replace the whole assembly, but since you can't write to the manufacturer for a replacement, sometimes you have to go to extreme measures. I disassembled the assembly and soaked the parts in oil then removed the rust with a fiberglass burnishing brush. To disassemble, remove the two screws in the bottom of the assembly and lift the base off. All the parts inside simply lift out. Later versions of this shutter have two pallets in the escapement allowing for a wider speed range. |
Notes
The slow speed range can be adjusted by spreading the gap at the pallet end of the shutter. This changes the position of the pallet. Usually, once the shutter is clean it will work properly without any adjustment.
Lubricate the speed cam plate where it rubs against the case. Prontor shutters are intended to run dry. However, due to age they may need a tiny bit of oil. Try the shutter dry first and only oil if needed.